
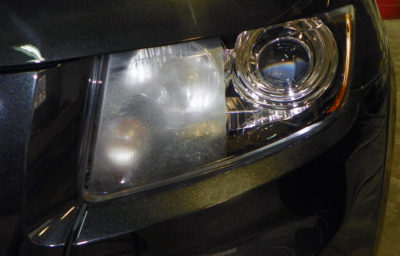
Long winter nights can hide a number of road hazards, from potholes to abandoned vehicles. Vision is critical to safe nighttime driving but over the course of time, many vehicle headlights become clouded or yellow. This is caused partially by UV rays from the sun on the plastic lenses so common on modern vehicles but it is also caused by millions of impacts with sand, pebbles, insects and other road debris. There is help though and it isn’t expensive. In many cases you can restore those headlights to like-new condition with just a little time and elbow grease!
As plastic headlight lens ages, the amount of light transmitted through the lens gradually decreases. Parking in a garage or out of direct sunlight will help prolong headlight clarity but just like windshields become pitted from road debris, so do your headlights. The solution is to polish them.
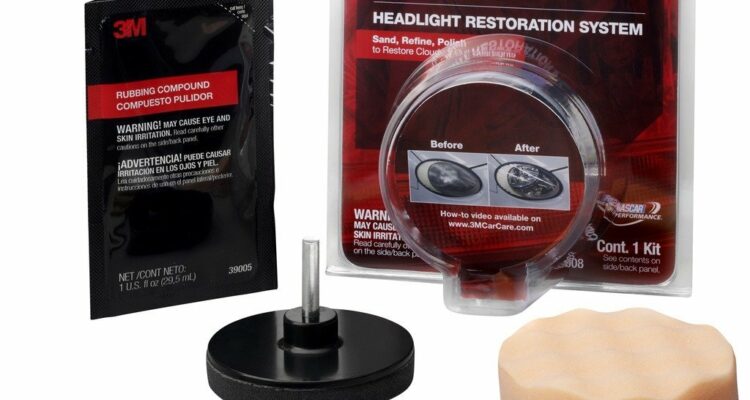
There are several brands of headlight restoration kits in the marketplace and can vary in price from about $15 to $40. All the kits work but usually the more expensive kits will contain more materials. You can also make up your own kit or simply take your vehicle to an auto body shop where they can polish the headlights for you.
Polishing a plastic headlight lens is a lot like polishing paint. The plastic is relatively soft and too much heat can “burn” or melt it, so you want to be careful not to apply too much pressure during any procedure. Work slowly and carefully and the results can be rewarding.
The first thing to do is wash the headlights so you do not cause more scratches by rubbing grit onto them. Then it is time to mask off the painted areas and grille around the headlight. Green Painter’s masking tape from the hardware store works fine. You will be working on the headlights with abrasives so you don’t want to damage the painted surfaces around the headlight.
The next step is to remove the haze or marks with abrasive on the plastic lens. The rule here is to start with a fine abrasive and move to a coarser abrasive only if necessary. Some headlights have a hard finish on the lens that helps protect it and when these lens discolour, the only solution is to sand this finish off as part of the restoration process. Typically, you would test the process by starting with a fine polishing compound on a small part of the lens. If that doesn’t help, then move to 3000 grit sandpaper (extremely fine) and sand it with the sandpaper well wetted with water. If marks are still there, move to 2000 grit sandpaper and continue on to 1600 grit or even 1000 grit if necessary to remove marks and make the lens smooth. After the marks are removed, then you sand again with progressively finer sandpaper to remove scratches. Usually finishing sanding with 2000 grit will be all that is necessary. After that, rubbing compound is used to make the lens clear again and finish with a plastic polish to make it shine. It sounds like a lot of work but it only takes a few minutes per headlight to make a remarkable difference.
Some kits have you do this all by hand. Other kits have sanding and polishing balls or discs that can be turned by a drill. The secret to using power tools is to operate them slowly, don’t apply too much pressure and don’t let the edge of discs grind into the lens. Using a power drill will make the task easier but it is also easier to cause damage. Go slowly!
Some restoration kits come with a final clear coat that you put on the headlights to reduce damage by UV rays. This coating is like clear paint and hardens on the surface to protect the headlight. The instructions that come with the restoration kits I have used are good. Some have foam-backed abrasive pads instead of sandpaper. I use supplies in my garage such as sandpaper, rubbing compounds and plastic polish but using a kit ensures you have everything you need. Even the lowest price kits will make a remarkable difference. All it takes is just a little time and you will have a much safer night time driving experience.